
Quick Answer
A rental inspection checklist is a written and photographed record of your unit's condition on move-in day, and it is the single strongest evidence you have to protect your security deposit when you move out. Walk through every room with your landlord, note every scratch, stain, and defect, take timestamped photos, and get both signatures on the report within the deadline your province requires.
Introduction
Skipping the move-in inspection is one of the most expensive mistakes a Canadian tenant can make. A missed cabinet scratch or unreported carpet stain can cost you a significant share of your deposit a year later, and without documentation from day one, it becomes your word against your landlord's. Provincial rules vary: British Columbia and Alberta legally require a signed Condition Inspection Report, Ontario does not mandate one but strongly favours whoever holds better evidence, and the deadlines to complete the paperwork can be as short as the day you receive the keys. The mechanics matter, because a report that is late, unsigned, or vague is almost as weak as no report at all.
Key Takeaways:
A signed move-in Condition Inspection Report is legally required in BC and Alberta and highly recommended in every other province.
Photograph every defect with a visible date stamp and store copies in two places before you sign anything.
Documented pre-existing damage is what prevents a landlord from charging you for it later.
Why a Move-In Inspection Protects Your Deposit and Rental Record
A rental inspection is the moment where the property's baseline condition gets locked in on paper. Everything you fail to document becomes something a landlord can later claim you caused, and in most provinces the burden of proof shifts to whichever party has the better paperwork. This is why a tenant-led move-in inspection matters even when your landlord seems friendly on day one.
What the Report Actually Does for You
The Condition Inspection Report is a legal document that freezes the property's condition in time. Beyond the deposit, it also shapes your rental history, which increasingly follows tenants through tenant rights in Canada discussions and credit-adjacent records.
Deposit protection: Prevents deductions for damage that existed before you arrived.
Dispute leverage: Gives tribunals like the LTB or RTB clear evidence when disagreements escalate.
Rental history: Reduces the chance of a bad reference following you to your next landlord.
Repair accountability: Establishes which issues the landlord agreed to fix and when.
Provincial Rules You Need to Know Before You Sign
Legal requirements differ sharply across the country, and the deadlines are tight. In British Columbia, the landlord must offer at least two opportunities to complete the inspection, and failure to do so can cost them the right to claim against your deposit. Alberta requires the report within one week of move-in, while Ontario tenant rights under the Residential Tenancies Act do not mandate a report, but adjudicators consistently favour the party with dated photographs and written notes.
The Room-by-Room Rental Inspection Checklist
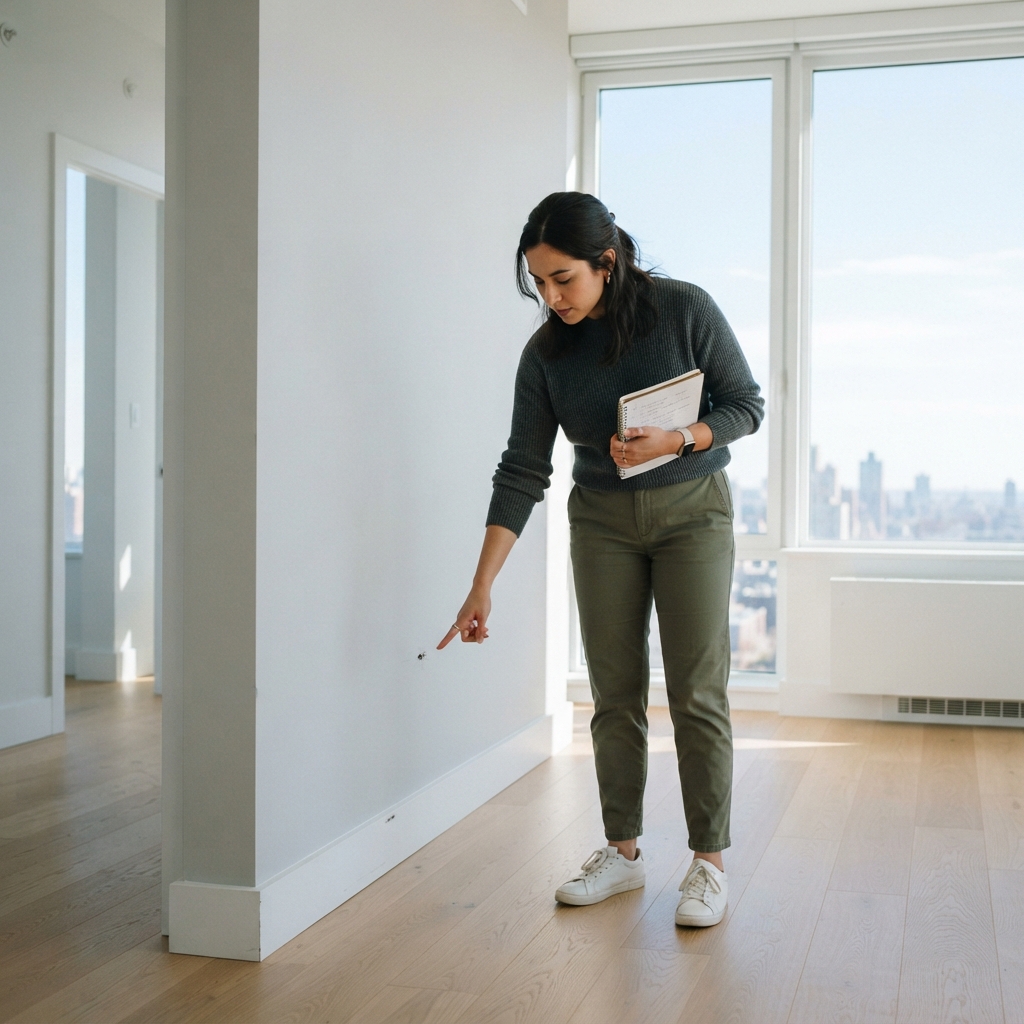
Work through the unit systematically, one room at a time, with your phone in one hand and the inspection form in the other. Do not rely on memory or trust that obvious damage will be excused later. Every defect goes on paper, with a photo attached.
Entryway, Living Areas, and Bedrooms
Start where you enter and move clockwise through each room so nothing gets skipped. Check walls for holes, scuffs, and prior paint touch-ups; floors for stains, gouges, warped boards, and lifting tiles; windows for cracked panes, broken locks, torn screens, and drafts; and doors for damaged frames, missing stoppers, and hardware that does not latch. Test every light switch, outlet, smoke detector, and thermostat, and note the specific location of anything that fails.
Kitchen, Bathrooms, and Utility Areas
Kitchens and bathrooms cause more deposit disputes than any other rooms because they carry the highest replacement costs. A landlord property condition report should capture appliance condition, plumbing behaviour, and any signs of moisture damage in detail. For step-by-step practical guidance, a thorough BC condition inspection guidance sets out what a proper walkthrough covers. Run every faucet for at least 30 seconds, flush toilets twice, open every cabinet, and photograph the interior of the fridge, oven, dishwasher, and any laundry appliances. Note the make, model, and any existing scratches or dents on each unit.
Documenting, Signing, and Storing Your Report
The strongest checklist in the world is useless if the documentation is sloppy or the report is never signed. This is where most tenants lose deposits they should have kept.
How to Photograph and Timestamp Pre-Existing Damage
Take a wide shot of each room, then a medium shot of each wall, then close-ups of every specific defect. Turn on date and location stamps in your phone's camera settings before you start, and record a short video walkthrough narrating each issue out loud. Upload everything to cloud storage the same day so the metadata is preserved, and email a copy to yourself as a second timestamped record. Keep in mind that clear rental payment records from a service like TenantPay pair well with strong inspection records to establish you as a documented, reliable tenant, and understanding the residential lease agreement requirements in your province helps you tie the inspection back to the terms you actually signed.
Signatures, Deadlines, and Handling Landlord Disputes
Both you and your landlord should sign and date the completed report, and each party keeps a copy. If your landlord refuses to conduct a joint inspection, complete the checklist yourself, take all photos, send the signed report to them by email with a read receipt, and note their refusal in writing. In BC, you should reference the specific BC tenant rights that require the landlord to offer two inspection appointments; a similar escalation path exists in Ontario through Ontario landlord inspection laws. If a dispute later arises, submit your dated photos, video, signed report, and email correspondence to the provincial tribunal. Organized, dated evidence is what tribunals rely on when the two accounts differ.
Conclusion
A rental inspection is a one-hour task that can save you hundreds or thousands of dollars and protect the rental history you carry into every future lease. Walk the unit slowly, document everything, get signatures, and store your evidence in more than one place before your first night in the apartment. Know your provincial deadlines, understand your tenant rights and responsibilities, and treat the checklist as the foundation of a healthy landlord relationship rather than an act of distrust. Tenants who pair strong inspection records with consistent, tracked rent payments through platforms like TenantPay build the kind of rental profile that opens doors to better housing later. Do it once, do it thoroughly, and the deposit conversation on move-out day becomes a formality instead of a fight.
Want to turn on-time rent into a stronger financial record while you protect your deposit? Start reporting rent with TenantPay and build credit from the payments you are already making.
Frequently Asked Questions (FAQs)
What should you look for in a rental inspection?
Check walls, floors, windows, doors, appliances, plumbing fixtures, electrical outlets, smoke detectors, and any signs of pests, mould, or water damage in every room.
How do you do a move-in inspection as a tenant?
Walk the unit room by room with your landlord, note every defect on a written checklist, photograph each issue with a date stamp, and both parties sign and keep a copy of the completed report.
Why is a rental inspection important for security deposits?
It creates dated proof of pre-existing damage so your landlord cannot deduct repair costs for issues that were already there when you moved in.
How do you document pre-existing damage in a rental?
Take wide, medium, and close-up photos with date and location stamps enabled, record a narrated video walkthrough, and email everything to yourself to preserve the timestamp.
Is a move-in inspection legally required in Canada?
Yes in British Columbia and Alberta under their respective tenancy acts, and while not mandated in Ontario, adjudicators strongly favour the party with a documented Condition Inspection Report.
Who is responsible for repairs found during the inspection?
The landlord is responsible for repairing any pre-existing damage or habitability issues noted in the report, and the timeline should be recorded in writing alongside the signed checklist.
Are digital inspection reports accepted by landlords?
Most provinces accept digital reports and electronic signatures, but confirm your landlord's preference in writing and keep both a PDF copy and printed backup for tribunal purposes.
About the Author
Sarah Williams is a Rent, Housing & Property Data Writer covering the mechanics of renting in Canada, including tenant and landlord law, rent reporting, and provincial regulatory frameworks. Her work translates the specifics of tenancy acts and credit bureau processes into practical guidance for renters navigating deposits, disputes, and rental history records.